Growing your own mushrooms can feel like unlocking a secret world—and it all starts with one powerful ingredient: DIY Mushroom Grain Spawn. If you’ve ever wondered how growers consistently achieve faster colonization, healthier yields, and bigger harvests, the answer lies in mastering grain spawn at home. The best part? You don’t need a lab—just the right method, patience, and a bit of care.
This step-by-step guide will walk you through everything you need to know, from preparing grains to inoculation and storage, so you can confidently produce high-quality spawn at home.
What is DIY Mushroom Grain Spawn & Why It Matters
What is Grain Spawn?
Grain spawn is sterilized grain (like wheat, rice, or millet) that has been inoculated with mushroom mycelium. It acts as a “seed” to grow mushrooms by transferring mycelium to bulk substrates.
Benefits of Making Your Own Grain Spawn
- Cost-effective compared to buying commercial spawn
- Higher success rates with fresh, contamination-free batches
- Full control over quality and strain selection
- Scalable for both hobby and small business growers
Best Grains for Mushroom Spawn at Home
Popular grain choices include:
- Wheat grains
- Sorghum (milo)
- Brown rice
- Millet
These grains provide ideal nutrients and surface area for fast mycelium growth.
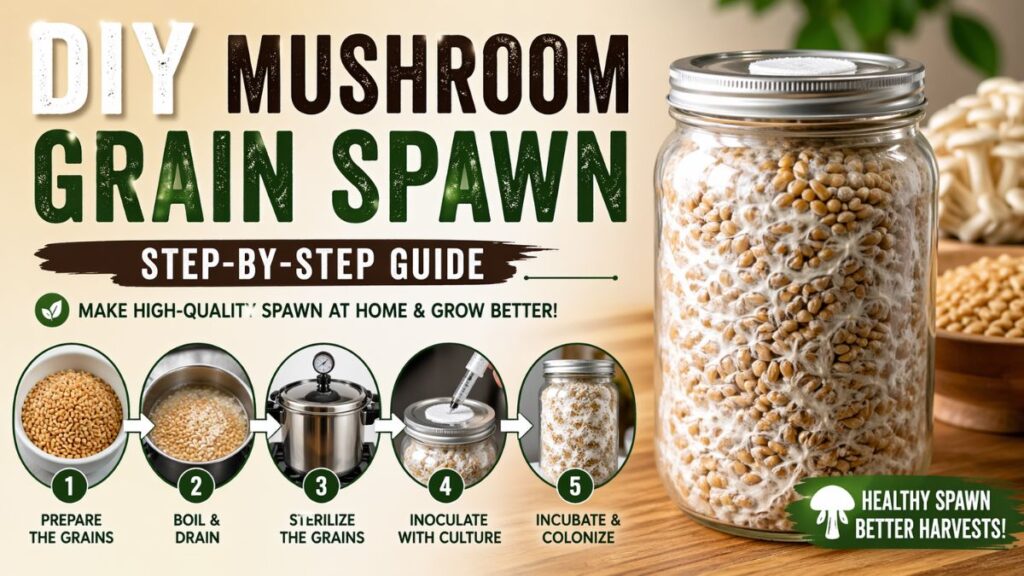
Step-by-Step Guide to Making DIY Mushroom Grain Spawn
Step 1: Clean and Soak the Grains
- Rinse grains thoroughly to remove dust and debris
- Soak in water for 12–24 hours
This step hydrates grains and helps eliminate unwanted bacteria.
Step 2: Boil and Drain Properly
- Boil grains for 10–15 minutes until slightly soft
- Drain excess water completely
- Let grains dry until they are moist but not sticky
Avoid overcooking—mushy grains can cause contamination.
Step 3: Load and Sterilize Jars
- Fill jars (about 2/3 full) with prepared grains
- Add breathable lids or cotton plugs
- Sterilize using a pressure cooker at 15 PSI for 90–120 minutes
This is the most critical step in how to make mushroom grain spawn at home safely.
Step 4: Inoculate with Mushroom Culture
- Let jars cool completely
- Inject liquid culture or add agar wedges in a sterile environment
Use a still air box or laminar flow hood for best results.
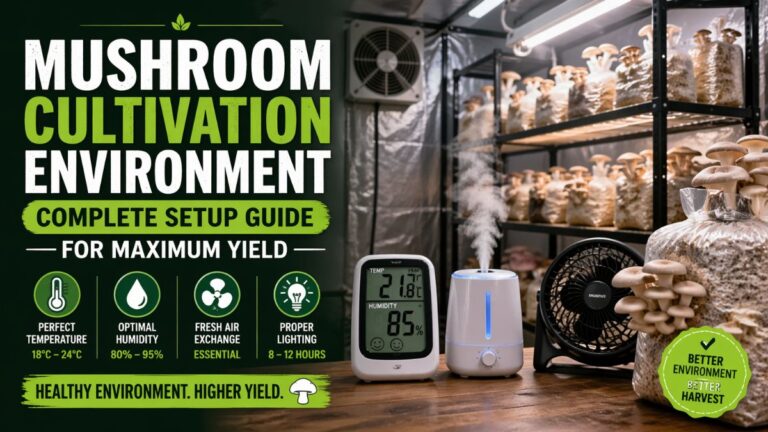
Step 5: Incubation and Colonization
- Store jars in a dark, warm place (20–25°C)
- Shake jars after 20–30% colonization to speed growth
Within 10–14 days, your jars should be fully colonized.
Tips, Mistakes to Avoid & Safety Precautions
Expert Tips for Success
- Always maintain sterility during inoculation
- Label jars with date and strain
- Use fresh, high-quality culture
Common Mistakes to Avoid
- Over-soaking or under-draining grains
- Skipping sterilization or shortening time
- Opening jars too frequently
These errors often lead to contamination and wasted effort.
Safety Precautions
- Use a pressure cooker carefully—follow all safety guidelines
- Work in a clean, sanitized space
- Dispose of contaminated jars immediately
FAQs:
1. How long does grain spawn last?
Properly stored grain spawn can last 1–2 months in a refrigerator.
2. Can I make grain spawn without a pressure cooker?
It’s possible, but not recommended. Sterilization is less reliable, increasing contamination risk.
3. Which grain is best for beginners?
Brown rice is beginner-friendly due to easy availability and preparation.
Helpful Tool for Growers
To perfectly calculate how much spawn you need for your setup, try this free tool:
👉 https://mushroomcalculators.com/tool/mushroom-grain-spawn-calculator/
Conclusion:
Mastering DIY Mushroom Grain Spawn is a game-changer for any grower. It gives you complete control, reduces costs, and significantly improves your success rate. While the process requires attention to detail—especially around cleanliness and sterilization—it becomes second nature with practice.